
Do you like the patterns you see
in magazines and shows, but want to change the size or colours? Would you like to sew a copyright-free quilt?
Every quilt block and quilt you make can be as unique! Electric Quilt is the easiest quilt design
computer program on the market and it can produce the most complex design you
can draw as you develop your skills!
Mystery Electric Quilt©
We
began this short series of articles in the Summer 2014 issue of The Canadian
Quilter by showing you the ways of choosing fabrics and colours for an Electric
Quilt project. We hope that you have
chosen the fabrics for this project and are ready to work on your layout.
Your homework: By the end of this article, you will have a
project started and will have all your fabrics ready to work with.
At
any time during your reading, you can choose to switch to ‘video’ mode and
watch the excellent videos created by the Electric Quilt staff. They are clearly spoken and accompanied by
screen shots from the program - http://doyoueq.com/lessons_categories/eq7-video/
Start your Project

When
you start Electric Quilt, you first see the ‘tip of the day’ box. You can
read a lot of tips by clicking on the ‘Next’
button, or click ‘Close’ to get to
the next screen. (Figure 1)
 The next screen
offers you 3 choices: Create a new project, Open an existing
project, or Start with a quick-quilt
project. It’s helpful if you think
of ‘projects’ as file folders – inside each file folder you can place many
quilt and block designs. BUT... you have
to remember where your quilts are stored!
Many EQ users employ useful names for their folders, i.e. baby2014, DearJane,
Wedding2014, BOM2014, Guild2014_15, LogCabin, NewYorkBeauty, etc.... This helps you track down and work on your
quilts. As you work on quilt designs
there is a great visual method to keep track of your quilts as well that we’ll
show you later.
The next screen
offers you 3 choices: Create a new project, Open an existing
project, or Start with a quick-quilt
project. It’s helpful if you think
of ‘projects’ as file folders – inside each file folder you can place many
quilt and block designs. BUT... you have
to remember where your quilts are stored!
Many EQ users employ useful names for their folders, i.e. baby2014, DearJane,
Wedding2014, BOM2014, Guild2014_15, LogCabin, NewYorkBeauty, etc.... This helps you track down and work on your
quilts. As you work on quilt designs
there is a great visual method to keep track of your quilts as well that we’ll
show you later.
We
have named this project CQA_Mystery
and we’ll use this name in the series.
Click OK once you have named
your project. (Figure 2) (By the way, I purchased the EQStitch 'add-on' because I own an embroidery machine. But it works exactly the way that EQ7 works with a couple of extra tools for embroidery designs.
Project Menu
Once
you have begun a project, you will see the basic menu and a block design area
(EQ will automatically begin with the last block size you worked with). VERY IMPORTANT NOTE: EQ is not like the word processor you
use. EQ has really made an effort to
help users by making image icons to use in designing. You don’t have to go to File -> SaveAs to
save your project (and, indeed, this will confuse the issue if you do). Your main tools for saving and looking up in
a project will be the red arrow and
the glasses icons on the top
menu. The red arrow icon saves whatever
you are working on (block, quilt, photo or embroidery) and the glasses icon
opens up the Project Sketchbook so that you can look at what you have in the
project. Train yourself to use these on a project to make EQ easier to use. (Figure 3)

Other Icons
The
first two icons on the top bar are 1) the
blue/white page - Start a new project and 2) the file folder - Open an existing project. You don’t use either of these while you are
working on a project.
The
disk icon saves your project. The printer
icon will bring up a menu of various printing options. The curved
arrow icon is a great help – it allows you to ‘back up’ step by step. To the right of the ‘very important’ icons
are the magnifying glasses. The only one that has 2 steps in it is the
‘+’ glass – when you click on it, you must then move to the area of the screen
that you want to zoom in on and, holding down on the left mouse button, draw a
rectangle. When you release the button,
you will be ‘zoomed in’. Next is the ‘video’ icon which will bring up a list
of videos if you choose to pause and watch a technique. The next icon (?) is an excellent tool to use until you are accustomed to EQ. This tool displays dynamic help. If you click it then move to another menu
item, a screen on the right will explain its use.
The last
4 icons are also very important – they indicate what design ‘mode’ you are in –
for example, in Figure 3 you can see that the orange one has been pressed – that means we are in the
‘block design mode’ and the menu item ‘Block’ appears in the Text menu above
the icons. The red icon is the ‘quilt design mode’ and instead
of ‘Block’, the word ‘Quilt’ will appear.
The blue icon is
for working with Photos and EQ is amazing with all the photo features it
has. The green one allows you to add embroidery designs to your
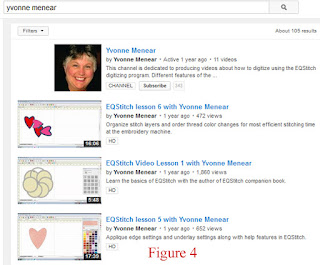
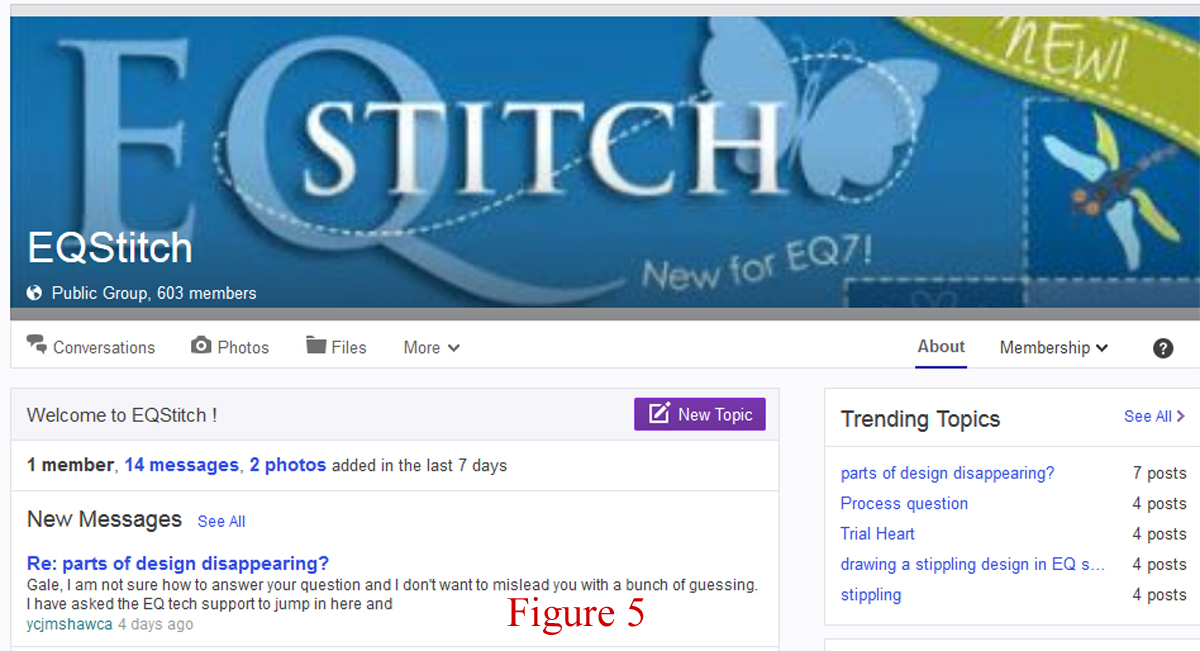
quilts. A Canadian quilter and
embroiderer, Yvonne Menear, has written the instruction book ‘EQ with Me: Learning EQStitch’ and has
produced videos on YouTube (Figure 4), AND she runs a Yahoo group devoted to
helping members incorporate embroidery patterns into their quilts (Figure 5)!


Getting to Work on our Project
The first task
is to import the fabrics chosen in the first article into our project (actually
this can be done anytime during a project as well – there is always the default
library of fabrics you can work with).
On the text menu, you will see the item ‘Libraries’. Click on that,
then roll down the menu and click on the second item – Fabric Library. If you chose
to import .fab fabric files (from the Summer 2014 article) then you will find
them below the EQ7 Libraries. Click on
the library holding the images of fabrics you want to use and then click on the
fabric and click on ‘Add to Sketchbook’
to add a fabric to the project. You can
also hold down the ‘shift’ key and choose several fabrics. (Figure 6)

If you chose to
scan or save fabrics into your personal library, then you should click on My Library and then click on the style
where your fabric images are stored. (Figure 7) You still need to click on a
fabric and then on the button ‘Add to
Sketchbook’ to add the fabrics to your project. We should note that each project can hold its
own unique group of fabrics. Your
‘Baby2014’ project fabric sketchbook may look much different from your ‘DearJane’
project!

Once you have
added as many fabrics as you want to your Sketchbook, you can take a look at
your choices by clicking on the ‘glasses’
icon. This click will open the Project
Sketchbook and when you click on ‘Fabrics’, you will see the default set of
fabrics as well as the ones you have chosen.
We
can note at this point that you have the option of viewing 4 fabrics at a time
or many. The small icons just above the
words ‘Figure 8’ are clickable and will change your view for you. (Figure 8)
Close this menu to move to the next step.

Next Issue: We’ll work on the layout and borders. Did this article answer any of your questions
about Electric Quilt©? I hope so. This software has added a new dimension to my quilt life and I LOVE it!!